How to Install Foil-Tec Single/Double on Roofs
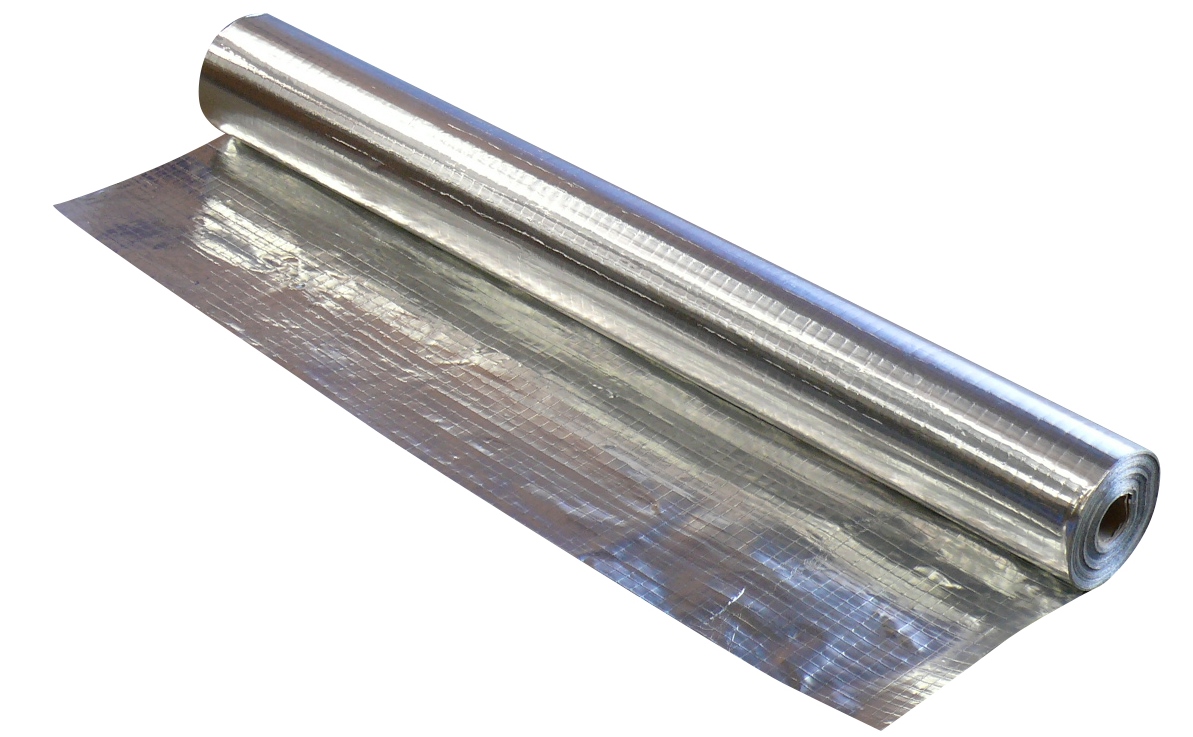
This informative How To Guide will explain how to install foil-Tec Single and Double. This guide will show you specifically how to install it for the internal of roof applications, however Foil-Tec Single and Foil-Tec Double can be used in walls and floors.
The following guide is a step by step installation guide that details how you install Foil-Tec Single VCL, and Foil-Tec Double VCL, for roof applications.
Foil-Tec is a robust vapour control layer, with highly reflective outer layers. It has an emissivity of 0.02, meaning it reflects 98% of radiant energy,
It surpasses the conventional vapour control layer, owed to it providing strength and reflective thermal properties – in addition to vapour control.
Method Steps
-
Roll out Foil-Tec and Cut to Size

Start by measuring the roof timbers, and cutting Foil-Tec to your desired length.
-
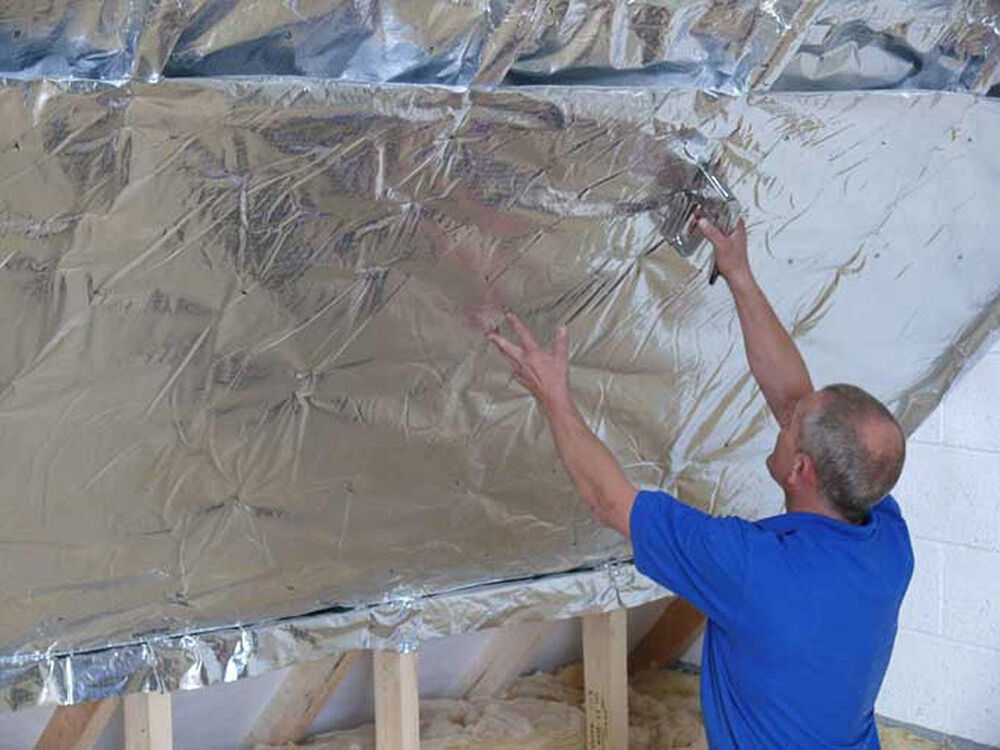
Staple Foil-Tec Insulation

Next, proceed to staple Foil-Tec Insulation on the roof timbers. We would recommend using a Staple Gun, and 14mm staples. This will hold the insulation in place, ready for the next steps. Note - If insulation is fully filling the rafters behind, we would recommend Foil-Tec Single, as opposed to Foil-Tec Double.
-
Overlap Insulation
When you start your next run of Foil-Tec, ensure it is overlapped by a min of 50mm.
-
Tape and seal
Once the roof space is fully covered with Foil-Tec, proceed to tape. Ensure all overlaps and the perimeter is sealed using Thermaseal Foil Joining Tape. This ensures the product works as a high performance Vapour Control Layer. Foil-Tec working as a VCL is essential to it's products performance.
-
Install Batten
As Foil-Tec is not a traditional VCL, it provides thermal benefits too. To gain the thermal benefits, fix a 19mm - 25mm batten over the insulation at 400mm centres.
-
Finish Plasterboard
To finish, screw a 12.5mm plasterboard into the battens.

 Fast Next Working Day Delivery
 Bulk Discounts Available
 Order Pre 2pm for Delivery